This article records the entire process of my first time setting up a hexo static blog.
Introduction to Hexo#
Hexo is a fast, clean, and efficient blog framework. Hexo uses Markdown (or other rendering engines) to parse articles and generate static web pages with beautiful themes in seconds.
Environment Setup#
To set up Hexo in a Windows environment, the following software is required:
Install Hexo#
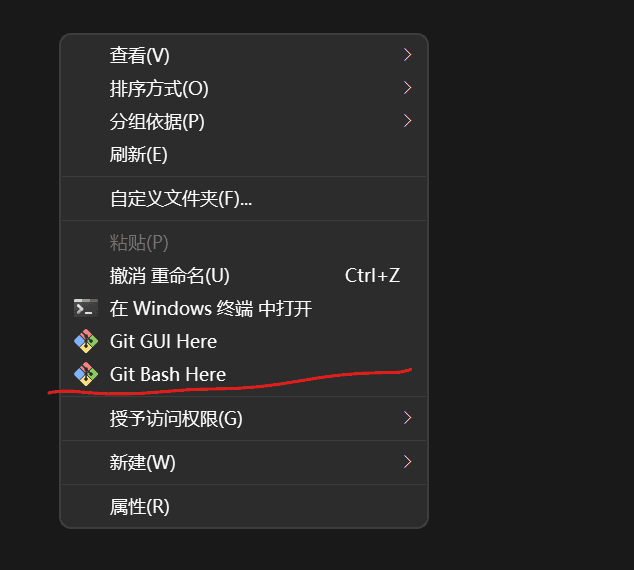
After installing the above two software, you can create a folder on your desktop with any name. Right-click in the folder you just created and select "Open Git Bash Here" from the context menu.
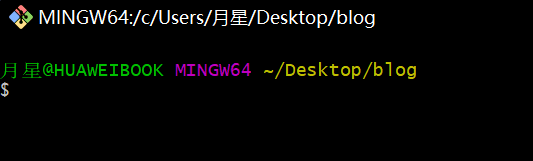
Enter the following command in the Git Bash software:
$ npm install -g hexo-cli
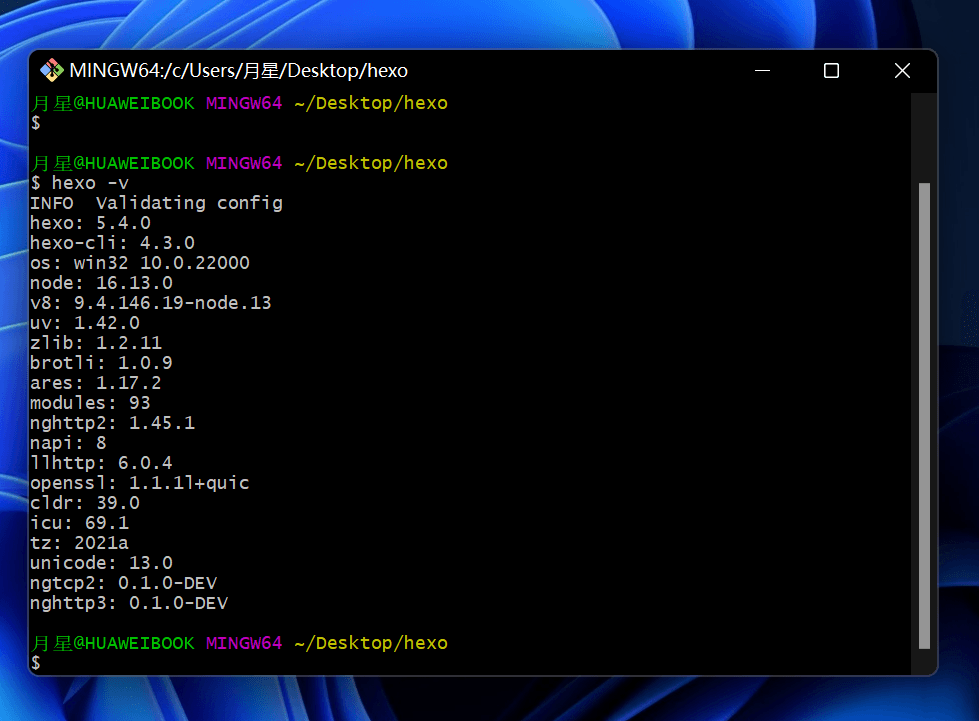
Enter the command to check if the installation is complete, compare with the image below:
hexo -v
Enter the command below to initialize (wait a few minutes after pressing Enter)
exo init
Install essential Hexo plugins
npm install
After completing the above steps, Hexo is set up.
Run the Blog#
Although we have completed the installation, we cannot access it yet. You need to follow these steps to run your blog.
Clear cache
hexo clean
Generate static files
hexo g
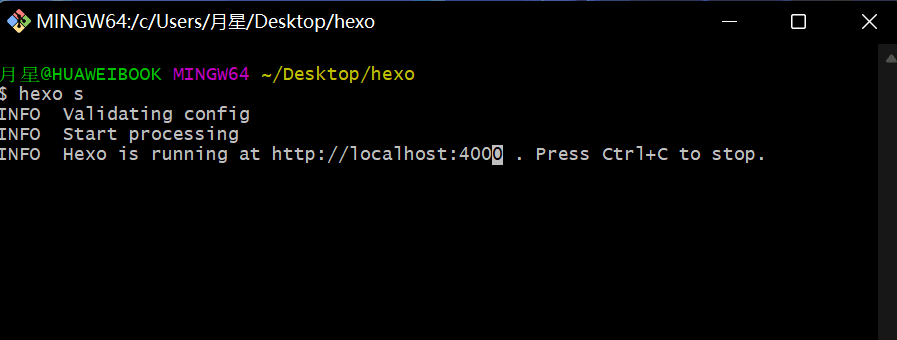
Run in local environment
hexo s
Conclusion#
Local environment address: http://localhost:4000/
To publish your blog on the Internet and allow more people to access it, you need to upload the generated static files to a cloud server.
Of course, you can also deploy it on the pages service provided by GitHub.